Tuesday, June 26, 2012

6/26/12 Plans for the Future

Right now my car is slow. I never thought of it as slow when I had it in highschool, but I've owned and driven faster cars since then and I know I need more power. When I was at the track, I was able to pass very fast cars in the turns only to get blown by on the straights.

I had been planning on buying a new engine for the Z. I wanted either a 1JZ/2JZ, RB25DET, VQ35DE, or and LS1. The problem is that it's never just a new engine. It's an engine, a transmission, mounts, wiring, a new exhaust, new driveshaft, new gas tank for fuel injection, new fuel lines, intercooler on the turbo engines, and many many odds and ends just to get the engine in the car. This is not to mention that at those power levels I'd need to upgrade the differential and halfshafts. All this adds up to quite a bit of money.

Now I've decided to do this in stages. I'm gonna build a mild, carbed, 2.8 liter L engine to get me by in the meantime. I've worked out a deal with CB to get a head, triple webers, and a 2.8 liter block. CB is doing a much more aggressive 3 liter, ported head monster motor for his girlfriend's car, but I don't think that's a road I want to go down just yet. This engine should make around 180-200 rwhp if I build it right (compared with 250 or so for CB's stroker) , which would be about double what I have now and more than enough to make the car fun, and is simple enough to build in a couple of weekends. The main thing here is that because it's an L engine, I don't need mounts, a new trans, a new fuel system, exhaust, wiring and all that fun stuff. Just build the motor, tune the carbs and go. Not to mention they look and sound amazing!


As I mentioned before, there has been some progress with the new shop. As it stands now, JB and I will probably be setting up a couple of containers as a temporary shop while we try to get into a nearby building. Here is a quick sketch I did of a possible layout. It's small but it could serve until we get something bigger.


Not a big update, but that's what I've got planned.

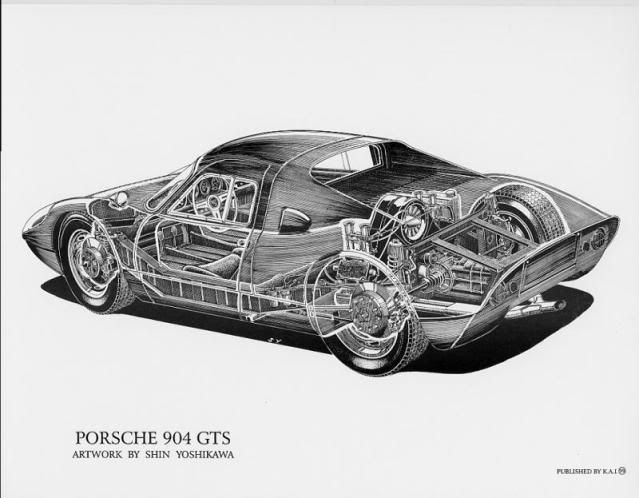
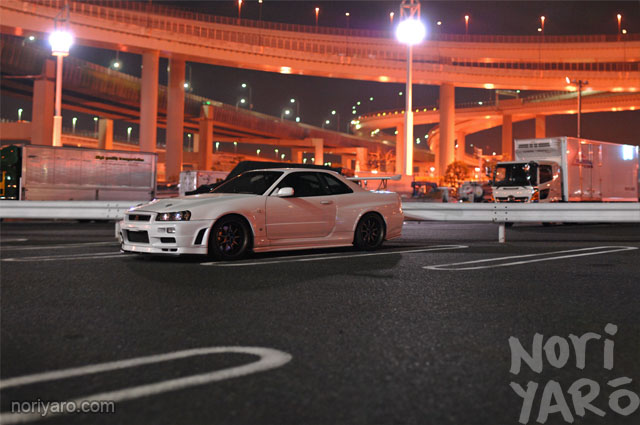
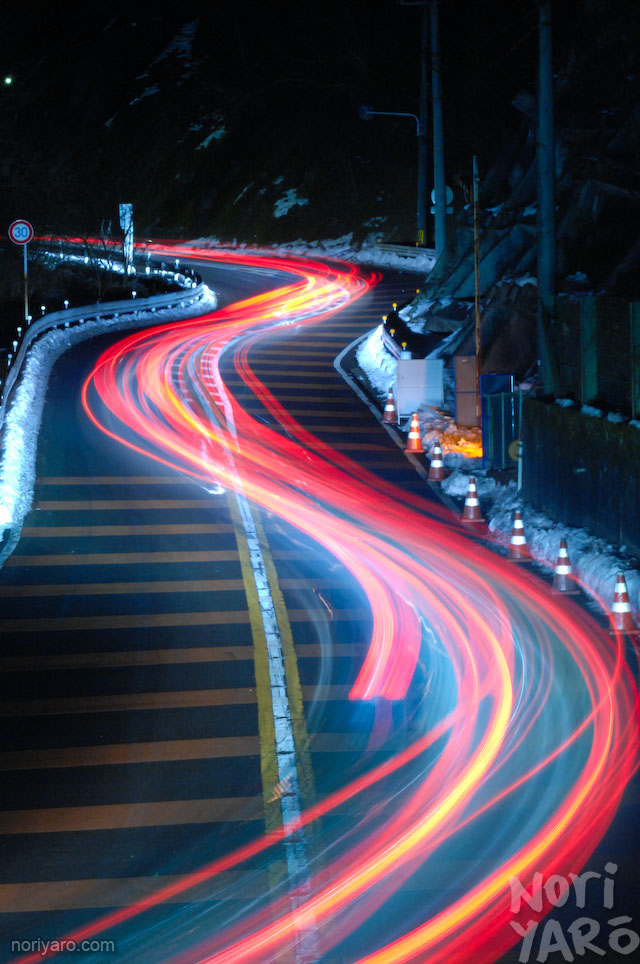
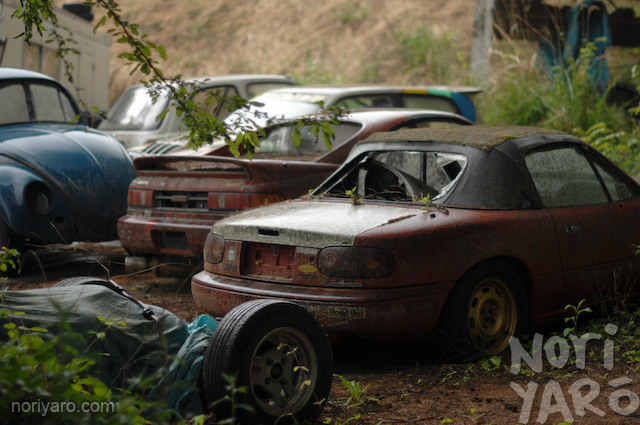
And now, some interesting photos.


Monday, June 18, 2012

6/18/12 Massive Transition Period Update

I need to apologize for not updating this sooner. I guess I got a bit disheartened when we lost the shop in the Bronx and didn't want to write about it. Now, however, the next space is in the works (likely in Brooklyn) so I'm in a good mood again. I'll write about the new space when some of the details are ironed out, but in the meantime I need to catch up on the past few months.

When I last posted, I was finishing up some details on the car to get it road-worthy by the time the shop was to close. Coincidentally, I was signed up for a track day at Lime Rock around the same time. There were numerous little things that had to be done on the car to get it to pass the tech inspection at the track, namely I had to button up my fuel system, properly mount my battery, and figure out my seat belt situation.

T-2 days till Lime Rock:

 The fuel system was easy enough, I borrowed a gas cap from CB and reused the gas cap base from my car. I just needed to block off some vent hoses and tighten some hose clamps. On a run to the parts store, however I realized that the sound I thought was my alternator belt being loose was actually the water pump bearing failing. Luckily, I had just bought a spare engine (it was an L24, that the owner thought was an L28, but I took it anyway because it was just rebuilt). I hopped in the Miata and scavenged the pump from that motor and started installing it on my car. Around the same time CB came over with a buddy and they installed my gas cap/base.

I also needed to install my seat belts. The car came with seatbelts, but I didn't have a complete set. The ones from my old car were junk, and I couldn't use the racing harness I bought from CB because the track had a rule that the driver and passenger have to use the same equipment. I picked up a set of rear belts from a 240sx very cheap, and wrestled with my car for an hour or so to get them in.


T-1 day till Lime Rock:

CB had been struggling with clutch issues with his car for the past couple of weeks, and with one day left he was still having issues. I went to his house late and helped him put the trans back in his car for what we hoped would be the last time.

Lime Rock travel day:
We decided to drive up to Lime Rock the on Sunday for our Monday trackday. We had a connection with a local B&B and it was certainly the better way to do the trip.

That morning we had an early wrenching session to check the last issues that might pop up with the cars. I was tightening a hose clamp on my gas tank when the fuel return spout broke from its weld. This resulted in a  slow but noticeable fuel leak when stationary, and a substantial one when the engine was running. Panicking, we drained the tank and I drove to an auto parts store with CB. Twenty minutes and a tube of JB weld later we were in business.

JR also showed up with a proper battery tie down for me that he stole from his turbo car. About as long as I remember I had been using bungees and ratchet straps to hold my battery, and that would apparently not pass tech...

My left rear wheel bearing was still making a slight noise, but I checked the tightness of the stub axle nut and all seemed well so I just tried to ignore it.

It was a rainy drive up to CT. With the exception of an actual squealing alternator belt when the lights and wipers were on, the car performed perfectly on the drive. This was shocking to me considering that the car had driven about 20 miles in the past 35 years.

In the morning, it was frosty cold. The chokeless 240z started hard, but did start. We made a quick fuel run then got to the track just as the safety meeting was ending, in true Top Gear style. My car flew through tech and I was soon waiting for my instructed session to start.

After I had borrowed a helmet from JR, my instructor and I set up our helmet-talkies and headed out to the track. I have to admit I was a bit nervous, but it definitely helped to have an instructor in the car. I don't think there was any way I could have figured out the line on my own, but he did a good job of showing me when to turn in, where to aim and when to get on the gas. After a few laps I was starting to feel comfortable and getting on the car a bit harder. To my surprise, it performed shockingly well. Somehow, despite my eyeball alignment, it handled easily and controllably as as you approached the limit of grip. Once I stiffened up the illuminas, it even transitioned from corner to corner very flat and stably.

In my third session out, my instructor was pushing me to go faster and faster. I was actually passing the other cars on the track (mostly Porsche's as it was a PCA event), though many would retake me on the long front straight as I don't have very much power. Just as I was doing really well and going pretty quickly...I spun.

My instructor didn't see anything I had done wrong and seemed to be as surprised as I was about the spin. After a quick drive through of the pit lane to talk with the controllers about it, I was back on track. It took a couple of laps to get the confidence to go hard through that particular turn, but eventually it came back. The only damage to the car was a lost center cap to one of my wheels.

Unfortunately my spin did direct the attention of the corner workers to my car, and I was black flagged for some reason. It turns out my brake lights hadn't been working (this was probably true the whole weekend, but no one noticed until after I spun). In between sessions I did some electrical detective work to determine the cause of the fault and was ready in time for my last session, which went well and without incident.

In addition to Porsches, there was our club and some other serious iron. All in all, I really enjoyed the day and I definitely have the track bug. I also have the bug for more power, as doing all the work to pass a car in the bends, just to have him walk by me on the straights was frustrating to say the least. I think there is a 1JZ-GTE in my future...

Pretty much immediately after this event, the boys and I moved out of the shop. JB got a PODS storage unit and we loaded whatever we could in there. The rest of it went to my mom's house in Newark, including the 240z. It was a sad day indeed.

As a result, all work that I needed to do on my motorcycle has taken place in AY's building with the help of KY. I had been having an intermittent stumbling issue with the bike that I couldn't track down. It seemed to break up at higher speeds and when turning, so I assumed it was a fuel issue. In fact, I thought was was the same water-in-the-tank issue that I had before. One afternoon, I hopped on the bike to go fix it. Once I got there, I drained the tank, cleaned the tank and front plug drain tubes, and drained the float bowls. This did nothing. A later day, rode over again so I could swap the spark plugs. One the ride over it was running great.  I figured I should do the plugs anyway because they were past due. Did all the work and....it started stumbling again. Frustrated, I ordered new coils for the bike while I was away on vacation. Once I got back, I went to install them when I noticed that the bike stumbled when I turned the handle bars, even when I was stationary. I investigated and saw that the wire I had run to the tachometer of the Vapor gauge had been rubbed raw and was occasionally coming into contact with the frame...when the wind would push it back or when the handle bars were turned. I taped up the wire, re routed it and was back in business. Sometimes it's the simple things...

Around the same time KY was solving an issue with his friend's BMW Z3. This guy had bought 19's for his small car along with a set of lowering springs. As you might expect, it now rubbed it's tires pretty much everywhere. Even after removing the inner fender and massaging the hood (which is also a fender on these cars) it still didn't have enough clearance. The solution was to add a spacer between the upper spring perch and the body. Spacers were cut from 3/8" plastic and inserted, along with longer studs to clear the longer distance. This did the trick and the car can now brave the pothole-ridden streets of NYC without fear.

The only other time I've had my Z on the road since losing the shop was, unfortunately, for a pretty sad reason. One of the members of the New York Z club, Tommy Sullivan, passed away in early May when his house burned down, claiming the lives of his wife and two daughters as well. Tommy was able to get his son, Tommy Jr., out before going back into the blaze to try to save the rest of his family. In order to remember our friend and try to raise some money for his son, the local Z clubs did a cruise and sold T-shirts and stickers. It was a great day, and a memorial Tommy would have loved.


I know it's been a long time, but a new shop in is in the works so expect more regular updates soon!

- W.W. SBSS

Thursday, March 15, 2012

3/15/12 Exhausting

With the Y-Pipe on, it's *a little* quieter so I ventured a little farther from the nest. I also Installed the driver side seatbelt for some safety. The car felt good. It really does seem to handle tightly. I did a couple hard brake tests and it seems that I don't need a bigger brake booster, as locking the wheels was no problem. That said, I do need to bleed them a bit better, as my left front locked far before my right front and I need to adjust my proportioning valve as well. but these are details.

I drove the car to bruckner and grabbed dinner. Also noting my electric fan and thermostat worked exactly as it should. Man it looks small...

Tomorrow I'm going to CB's shop to borrow his lift to install my exhaust. In preparation for this, I *ahem* modified the exhaust I stole from one of his parts cars. Here the tried and true Mike Fiesta method of making a generic muffler sound good. Mike and I did this to the muffler on my old car way way way back in the day, and the thing had the perfect amount of rasp. 

Step one, cut a flap in the muffler housing.

Step two, expose the innards.

Step three, remove innards.


Step four, weld shut.

That's it. hehe

Stay tuned for the results. 

-W.W. SBSS

Wednesday, March 14, 2012

3/14/12 I Drove It!

I actually drove it on Monday, but forgot to update. It was a short drive to the gas station and back, and I really couldn't stretch it's legs because it's deafeningly loud with the open headers (I set off a few car alarms just putting around), but it felt good and moved turned and stopped like it should.

Here's proof.

I've been also taking care of little stuff around the car making it roadworthy:

Adjusted the clutch
Adjusted the throttle linkage
Installed the new ignition module
Shimmed the front struts
Installed the Fox body mustang rear hatch seal, was a pain to get on but seems good now
Installed the passenger carpet hold down and both sill plates
Installed my exhaust Y-pipe in preparation for putting a real exhaust on it.

Still to do:
Finish exhaust
Gas cap
Order/install heater hoses
Attach heater panel
Install seatbelts
Seal tiny leaks in radiator
Many many other little things.

That said, the car should be a reasonable runner in a couple days...which is good because they are cutting power to the shop this week. I'll be relocating my stuff back to Newark this weekend.

-W.W. SBSS

Monday, March 12, 2012

3/12/12 IT LIVES!

This weekend I got some good work done on the car. First, I installed my proportioning valve. I heard some horror stories about flaring the brake lines from some pretty experienced people online but I had absolutely no trouble with it at all. Here's the process.

There are two reasons that i needed to flare the brake lines.
1. I needed to add a component
2. The fittings for that component were SAE rather than metric which the rest of the car is.

This meant I needed one line to go from the metric brake level switch to the SAE proportioning valve and to cut the existing rear brake line and put an SAE fitting on there to go to the other side of the prop valve.

I did a practice flare which came out perfect, so I did the swithc to prop line first, mainly because I could do it off the car at a bench.

Here are the tools in the flare kit.

First you cut the line.

Then you debur the inside and chamfer the outside.


Then you do the first flare which makes it bell shaped, then you do the second which folds it back in on itself, making the proper 45 degree flare.

One more flare and the valve was on the car. I later bolted it to the firewall all neat and clean.


Then I mounted and wired my new SPAL cooling fan.

On Saturday JB was picking me up in his new A7 to go to dinner. While he was pulled over waiting for me to come outside, some fool hit the gas instead of the brake when leaving a parking spot in front of him and backed into the 3 week old car. This is why we can't have nice things.


I found myself a little bored, so I tried something out. One of the pins on my ignition module was broken. I have a new one on the way, but in the mean time I was curious whether I could fix it anyway. I took the soldering iron and dug out the pin from the plastic casing. I then soldered a wire to it and reinstalled it. To my shock it ran right away.

Here are some gratuitous videos. Also one of CB driving away in his 260.


I didn't drive it but I put it on the ground and moved it back and forth and stopped it with the brakes. It's a car!

-W.W. SBSS

Thursday, March 8, 2012

3/8/12 Little Victories

The other day I had a couple of little victories with my car. As I've mentioned, the 5speed transmission I had in my old car has the shifter exit about 2 inches further forward than the factory shifter on an early 240z. I trimmed the sheet metal a little to get that to clear, but it soon became obvious that it was going to hit the factory center console. This is the shifter not quite all the way into 3rd gear.


I picked up a 72 center console from CB, only to learn that all of the mounting points are different so I really couldn't use it without doing a ton of work. To fix this, I took a suggestion from DC and bent my shifter to clear.

My first iteration wasn't quite bent enough to clear the console entirely.


More heat and more bending and I had this.


Now the shifter clears perfectly, the car is in 3rd gear in this shot.


I also got a new clutch flex line, swapped the hardlines and master cylinder out from my old car (the one in 1905 was looking a little corroded) and buttoned everything up. I now have a functional clutch.

Sometimes it's the little things.

-W.W. SBSS

Monday, March 5, 2012

3/5/12 Two Steps Forward...

This weekend I took Friday off to take care of some errands. The most important of these was going to the DMV and finally putting 1905 in my name. I was a little worried because NYS doesn't issue titles for cars so old so I was only bringing a transferable registration to the NJ DMV, but everything worked out well and I left with a new title in my name and plates for the car.

I also brought my spare hatch from NJ to the shop and from there to and auto glass shop in the Bronx. I have to say I was impressed by how quickly and easily they removed and installed the glass. They even saved my old hatch rubber since it was in good shape. I watched them work and learned the tricks so it was money well spent. 

I installed my new fuse block and everything came to life. The lights and wiper all work perfectly (except the front turn signals which I haven't hooked up yet. This is likely this first time electricity has passed through these wires in 35 years.


I also installed the gas tank and ran *almost* all the rubber lines. I would have gotten it started, except there was a minor mishap in the distributor wiring and I need a new one... The issue was created by the craz wiring that the previous owner of my old car did. The hacked up harness made it hard to figure out what was done, and so power was connected to the distributor incorrectly, frying the electronic unit. A new one is being sourced now and I should be running shortly. 


Major items left:
  • Clutch flex hose - on the way
  • Brake proportioning valve needs to be plumbed into the hard lines.
  • Brake lines need to be connected
  • I need to figure out a solution for my center console. I have the original one from the car, but because it is an early car, the transmission comes out too far forward and the shifter interferes with the console. Also because it is an early car, later consoles don't have the same mounting points. I think I'm going to end up either bending my shifter or trimming the console or both.
  • Need the push pins for the interior plastics
  • Need to figure out why my blower motor isn't turning on
  • Install the heater control cables 
  • Plumb heater into car
  • Get hatch weatherstrip
  • Get nuts and bolts for right headlight bucket (some of the originals broke because they were rusty when I dissassembled the car.)
  • Make shim for front top nut.

On an unrelated note, I saw a Bentley Mulsanne  on the road the other day. Pictures don't do justice to how large this car is. It is SUBSTANTIALLY bigger than the continentals you see around NYC all the time. It's about the same length as the extra long wheelbase version of the Escalade 


 Look how high the door sills are from the vantage of the admittedly small Miata. It was like being next to a Range Rover.


-W.W. SBSS